Blog
Stubbing in Pyhton using Dependency injector
fieldside-admin
Written on 10 Mar 2026
Technology
At one of our clients we started splitting up some monolithic applications into REST based microservices. We identified some key services we needed for our first use case which involved an aggregator service. It basically glues together three other microservices. This is what we will explain in this blog: How to do dependency injection using Dependency Injector How stub these dependencies in a dynamic way (environment specific)
Problem
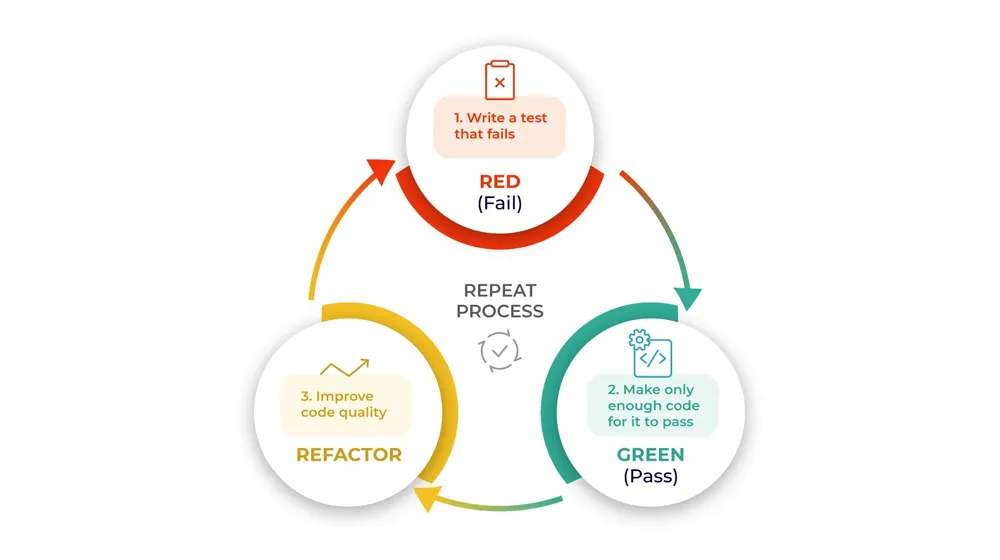
We wanted to deliver this first microservice as soon as possible without sacrificing on (code) quality to proof that our architectural and technical decisions were right ones. After the initial analytic phase we defined OpenAPI specs for our four microservices and started the development track for all four of them simultaneous.
The developer who worked on the aggregator service depends on the three other ones. So to avoid being blocked by the fact that the other services didn’t exist yet, we decided to stub these services.
Solution
Note: We are using FastAPI in this example but this solution should be framework independent.
In this example we will be creating a services which returns some basic company data and the employees who work for that company. The company and employee data come from an external service (another microservices, database call, events, …)

The starter application can be found in the start branch of this repo: https://github.com/wimvdc/dependency_injection and “solution” can be found in the main branch.
We will be using Dependency Injector, a dependency injection framework for Python.
1. Creating some stubs
To start, we created a stub class for both company and employee services.
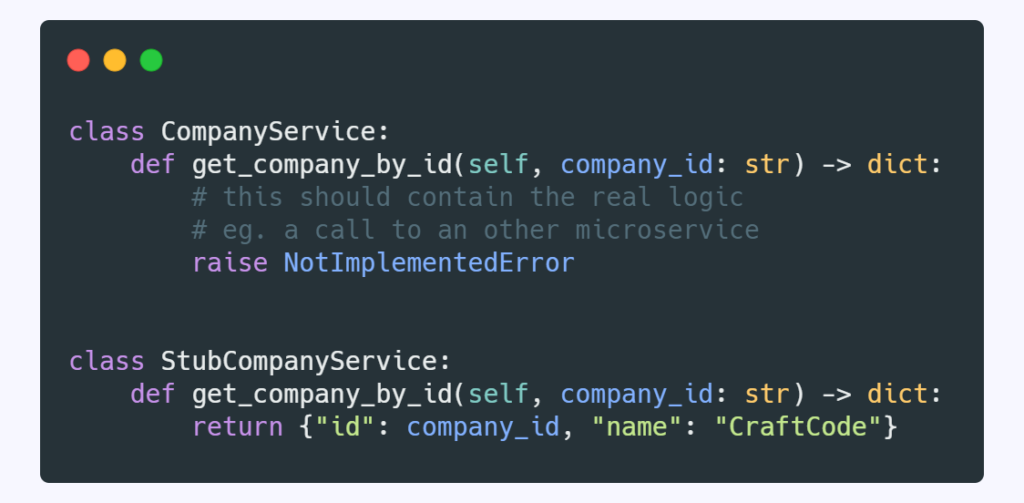
It’s just a copy of the existing class with the same signature(s) as the original one. This will allow us to switch between both classes without the need to modify our code.
2. Container
Next we will add container.py in our data module which will be responsible for assembling all dependencies in this layer.
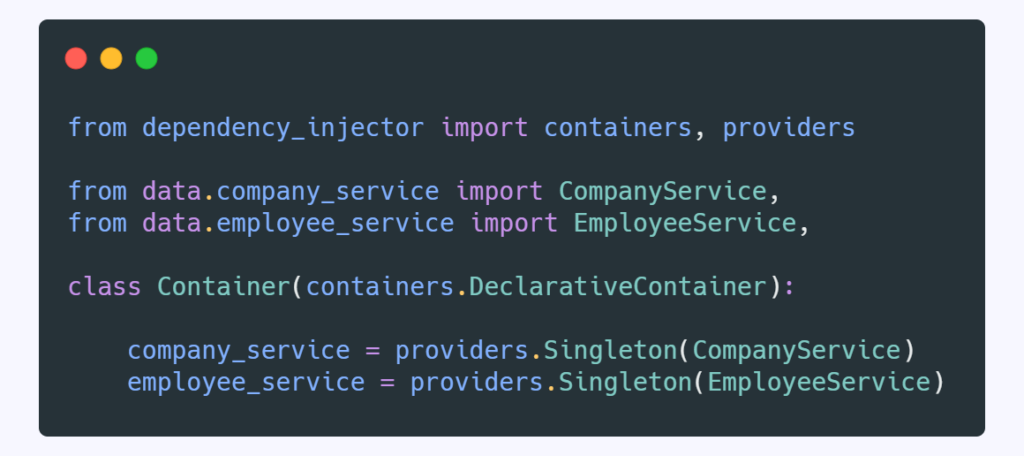
Here we see the Dependency Injector in action. This is a declarative container which is a collection of Providers. These providers create objects and inject the actual dependencies. In our example we use a singleton provider but Dependency Injector offers more patterns like Factory or Coroutine.
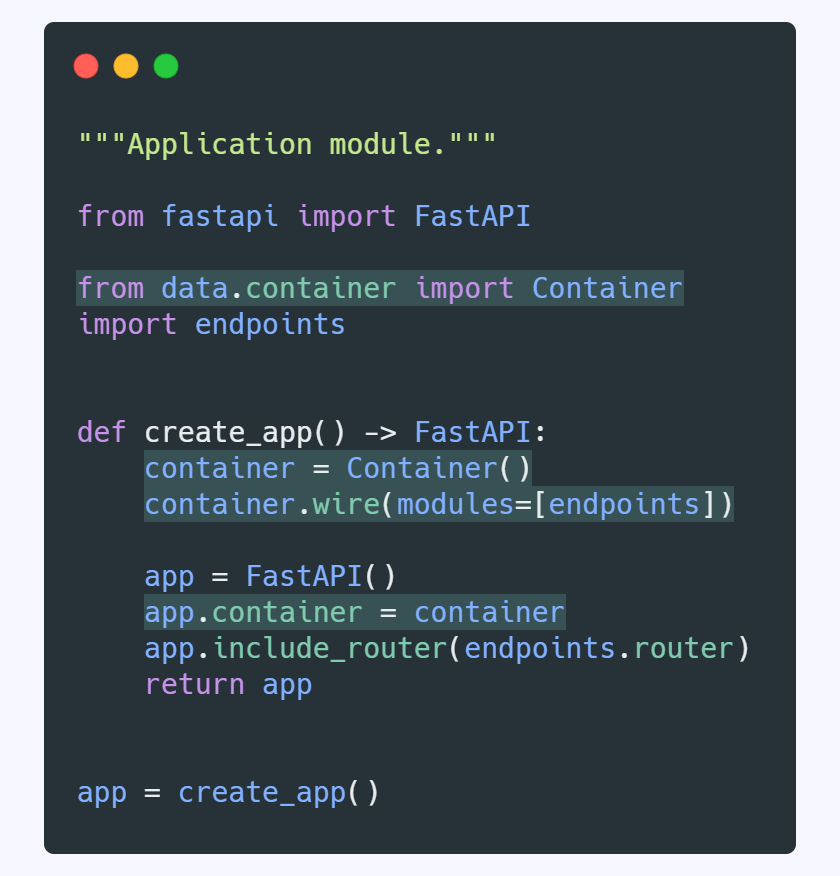
3. Wiring
Next up is wiring the container to our endpoint/route (the one who actually ‘consumes’ the dependency).
What we do here is let the container know in which modules or package we want to use dependency injection. In our case we want to use it in the application module.
4. Injection
Here we do the actually injection by specifying the @inject decorator and use the provider from our container to inject the dependencies.
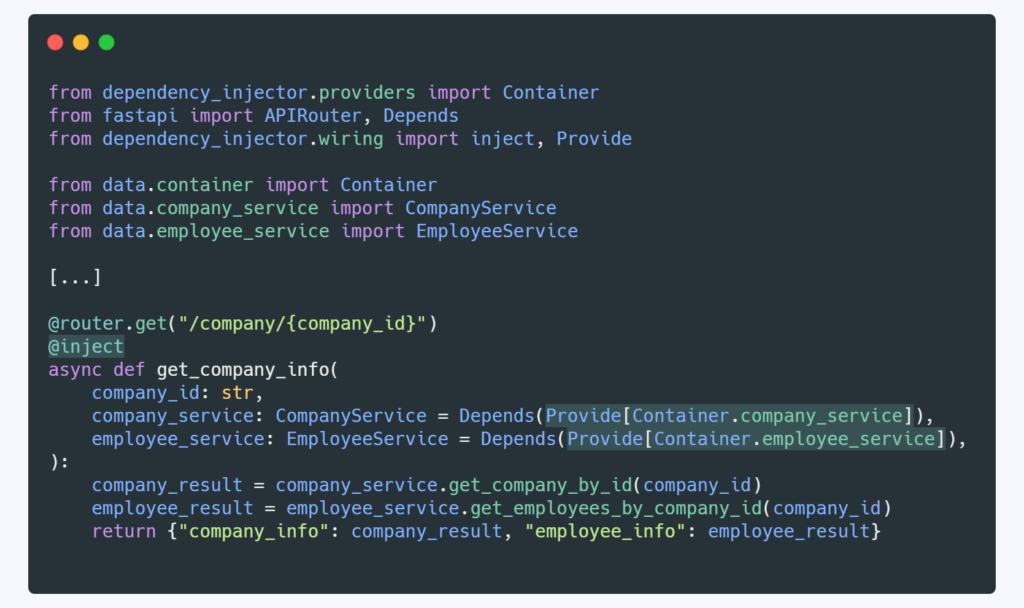
After we have done this, the dependency injection part is done and we should be able to run our application. We can manually change the classes we want to inject in the container (step 2), so we could choose to use the stubbed classes.
5. Dynamic injection
Instead of modifying the container.py each time we want to switch the dependency we will modify the container.py
to read a config file. This will allow us to change the configuration rather then the code itself and it’s useful to include steer this in an environment specific way (if needed).
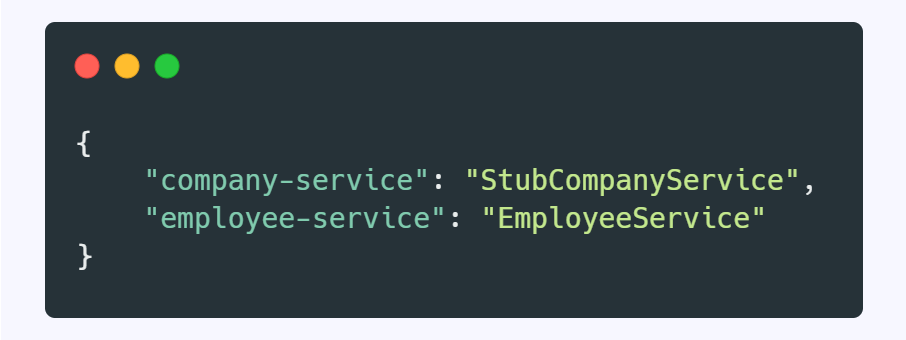
Create a injection.json file in a new folder named config in the root of the project.
In this last change, we modify the container.py to read the config file we just created and override certain providers if needed.
In this blog post example, it will use the stubbed version of company service but the ‘real’ implementation of employee service.
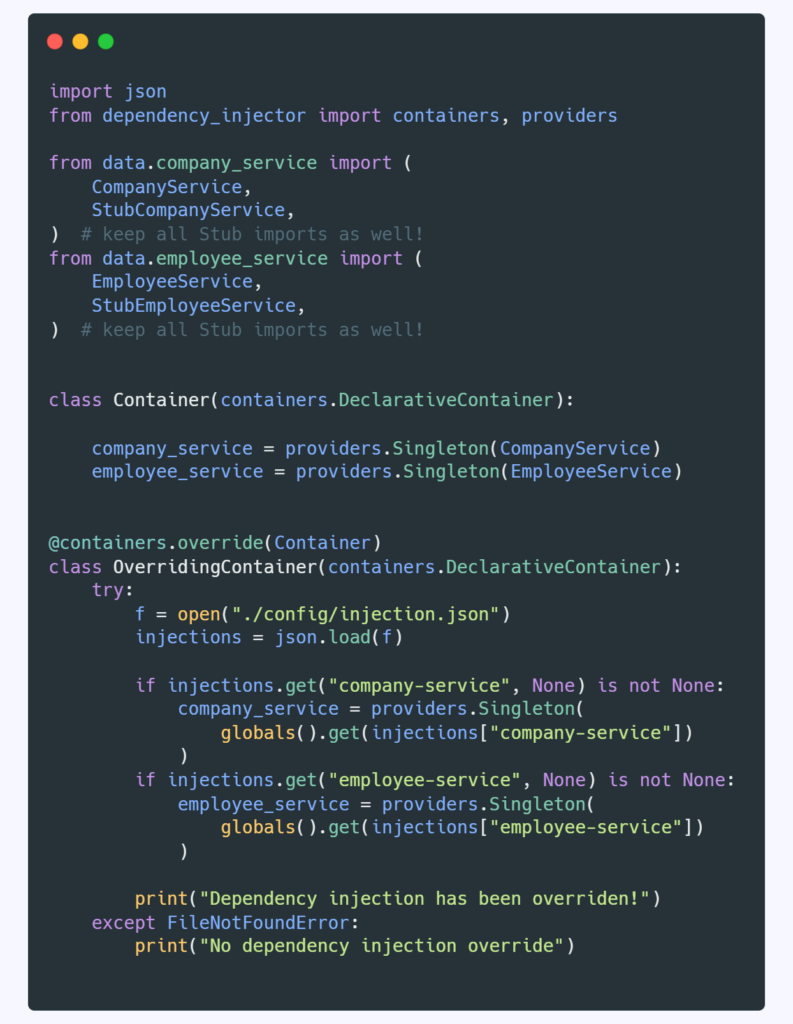
You could create injection.json files for each environment and use an environment variable to read the correct one. This will allow you a very dynamic dependency injection way of working and overcome (temporarily) blocking dependencies across your application/environments.
< Keep reading />
More from our team
Explore more insights, tips, and deep dives from the CraftCode team.
Let's get to work!
Ready to turn your vision into reality?
Let's build the systems that power your growth.